Cabinet - Phase III
 Click here to view my gallery! Click here to view my gallery!
(date: March 24, 2008)
It has been a long while since I worked on my cabinets, almost 4 months. After I finally came to my sense about spending so much time and money on R/C cars, I am back and ready to work on something more useful.
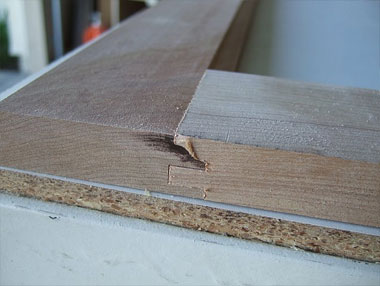
The fist image below is where I left off on my cabinet. My next step is to build the doors so I can hide all the junk that I am going to put inside. |
 |
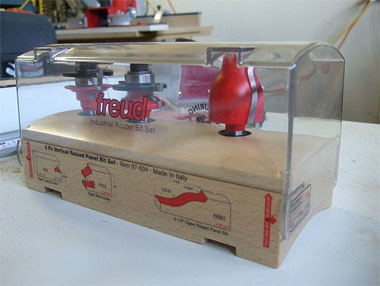
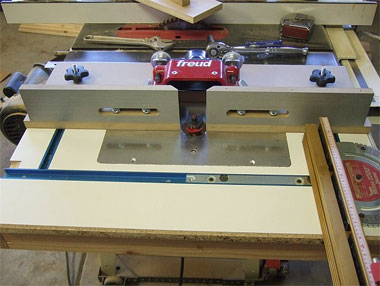
| Here is the most important tool i used to build my cabinet doors, Freud router bit set and router table. Have you notice I like using Freud products. Even the router that is under the table is made by Freud. |
 |
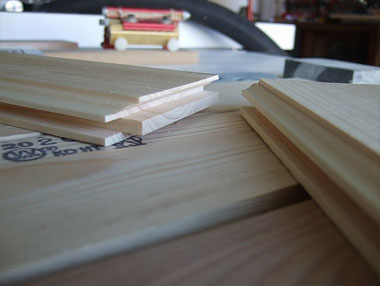
| After many test runs on pine wood to get the correct height for the stile and rails. I finally found a perfect setting, and created a template block for quick setup next time around. And the image below shows the results for a completed Stile and Rail. |
 |
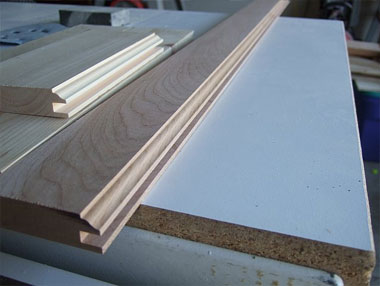
| My first pass though the router table using birch wood. The Freud router bits rip right through them like the pine wood. |
 |
| Here is a dry fit of the stile and rail, it seems to fitr pretty well. The dark spot you see in the picture is from the radial saw. I guess I still need to so some fine tuning on the radial saw. |
 |
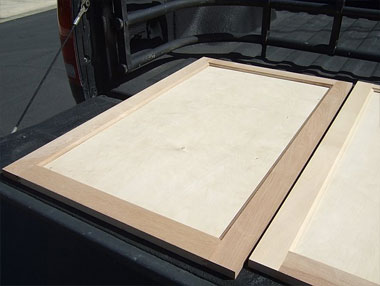
| Here is the completed door after gluing everything together. I would rather have a raised panel door, but I thought it is more economical to use a ¼ inch birch plywood. Plus this is only for the garage. |
 |
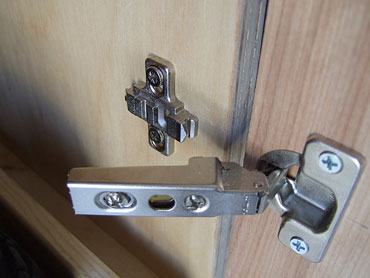
| Now, here are the finished cabinet doors, I hung them up with Blum 120 Degree Clip Top Hinges. These hinges are so easy to mount. Since I already create a temple for the hinge cup and the hinges are detachable, installation was a snap. |
 |
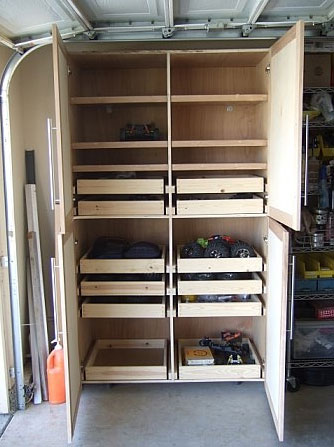
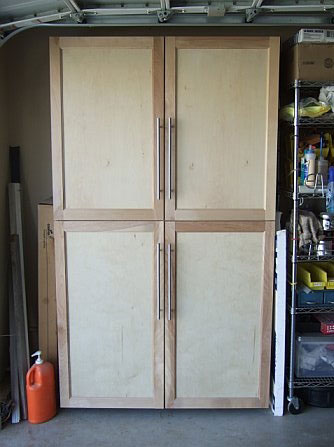
| For the most part this is how the finished cabinet will look like. It will have 12 pullout shelves and 6 regular shelves. The only thing I have left to do is to sand, stain, and varnish. |
 |
| Do you see all the junk on the rolling shelf right next to the cabinet? All that stuff is suppose to go in the cabinet. Just image how much cleaner it will looks when everything is hidden away behind those new doors. |
 |
| Materials List |
Phase I & Phase II
- 3 sheets if ¾ Alder Plywood (Cabinet – Frame)
- 12 pairs of 18” Full Extend Drawer Slides (Drawers)
- 720 Feet of 1x4 Pine (Drawers)
- 8 Feet of 2x4 Douglas Fir (Wall mounts for the cabinet)
- 2 Sheets of ¼ peg boards (Drawer Bottoms)
- 2 pieces of 2” pipe flange (Feet to raise cabinets of the ground)
- 2 pieces of 2” pipe nipple 6 inched long (Feet to raise cabinets of the ground)
Phase III
- 48 Feet of 1x3 Birch Hardwood (Cabinet Doors – Frame)
- 1 Sheet of ¼ Birch Plywood (Cabinet Doors – Middle)
- 8 Blum 120 Degree Clip Top Hinges (Cabinet Doors)
- 4 Ikea Lansa Handels
|
back to top |