Router table rebuild
 Click here to view my gallery! (the table saw rebuild) Click here to view my gallery! (the table saw rebuild)
(date: August 13, 2007)
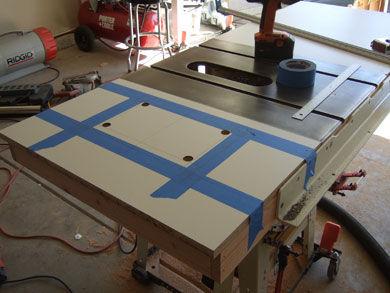
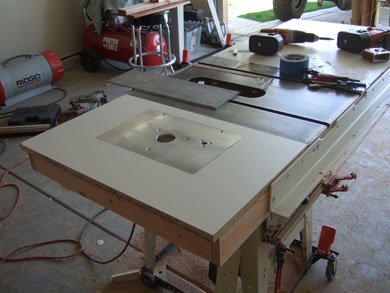
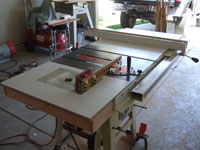
After installing the new Biesemeyer commercial fence, and dressing up the saw with melamine boards, I need to rebuild my router table. The existing table worked fine but I wanted to make my extension wings match on both sides. So I cut the existing router table smaller and so i can have it drop in like all the other retail tables out there. The first table was a sheet of 1/4" aluminum 27" x 20". Now I have cut it to 14" x 9".
First, I marked the table where the table drops in and where i need to cut. Then drilled 4 holes for the conner's of the path that I need to cut.
After cutting out the hole with a jig saw i built a template around the table to guide my router so i can cut a perfect 14" x 9" edge, for the aluminum plate to rest on.
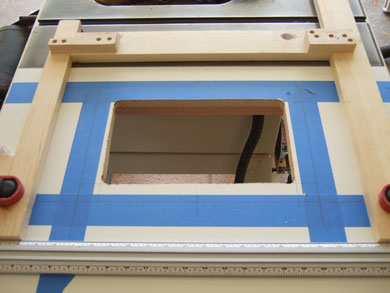
This I how it looks after I ran the router using the template I made.
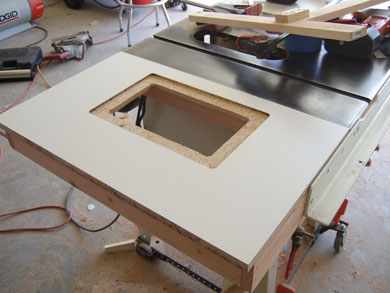
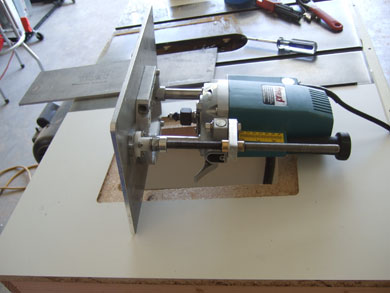
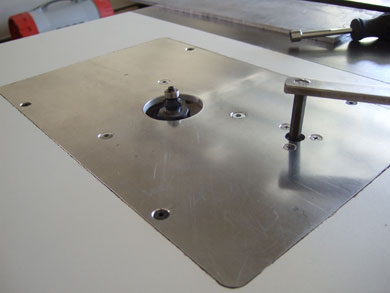
The router plate fit perfectly. Of course I did not show how much work i had to do to cut the aluminum plate with a sawzall. And all the filing and sanding that was done to make it fit.
 Now its time to mount the router back on to the aluminum plate. Now its time to mount the router back on to the aluminum plate.
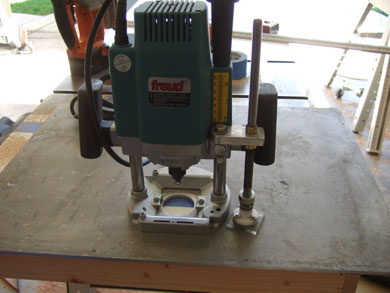
The custom router lift in action.
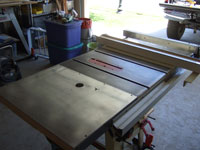
Before and after shots:
back to top |