HPI Savage 5T HD Hex


"the clearing" Colorado - 2008

Site menu:

Latest news:

May 14 2015:
5ive Camber Links and Turnbuckles

link »

Apr 12, 2015:
Quadcopter The Build Part 3 - Final Setup

link »

Apr 09, 2015:
LCD Monitor Mount

link »

Apr 04, 2015:
5ive - More Upgrades

link »

HPI Savage 5T - Suspension Upgrade Kit

(date: January 29, 2012)

Click here to view my gallery!

After testing the TCS conversion the first failure is the rear hub carriers. The plastic tab that connects to the toe link broke after my first cart wheel. So my solution is to get the HPI Suspension Kit. I know I could have gotten the replacement axle carrier for very cheap on ebay but I do not what to stop and change them out every time I landed a jump poorly.  

Here is a picture of the broken part.


Here is a picture of the HPI suspension upgrade kit. Even though it may look like a simple kit HPI still charge a lot of money for it. The cheapest I could find it for was $142 shipped.  So the suspension upgrade better work well.

I am not a big fan of the pink anodized parts but here is the suspension upgrade kit installed. The install was pretty much straight forward and required a little bit of trimming on the bulkhead.


Front steering knuckle with a 6061 aluminum 23mm hex from ebay


Here  is the main reason I went with this upgrade is the rear hub that eliminates the rear toe-link. I am hoping the HPI parts are higher in quality compared to the Integy.


The next upgrade I was debating if I really wanted to install it or not because I already had a adjustable upper arm installed. Since this was a whole kit I thought I would give it a shot.   


This is one of the reason why I did not want to install the last part of the kit. The adjustable upper arm is held on by one screw  and from I read online this screw tends to bend .   

UPDATE (May 18, 2012)!!


As I suspected the upper suspension mount it too weak and the mounting screw bent. Now I need to make something that will give it better support. Take a look at the 2 pictures below, the screws for both rear suspension arms are bent.
Savage 5T Flux-  Hitec HS-7950TH HV Servo

UPDATE (May 19, 2012)!!

Click here to view my gallery!


Here is what I made to help support the weak upper mount.


UPDATE (June 24, 2012)!!

Click here to view my gallery!


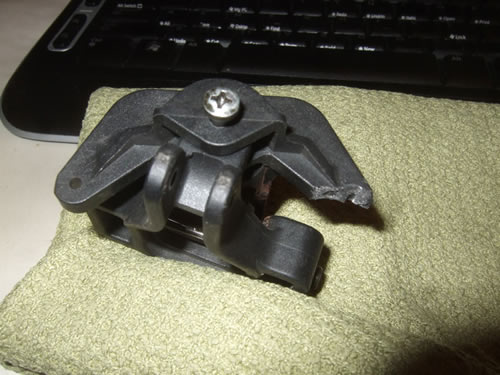
The upper arm has developed a lot of slack over a short time. When the RC car is placed on the ground it it will have too much negative camber. If you grab the wheel you can move it back and forth. Basically the rod ends are wearing out, causing the hole where the balls are to enlarge.

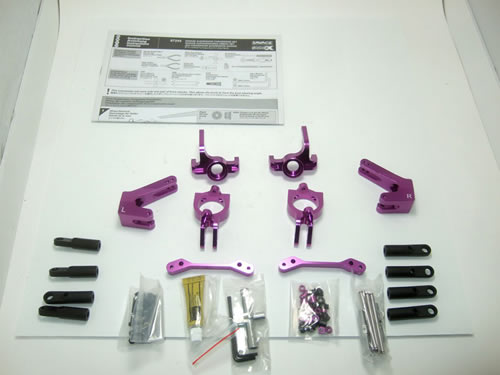
So I dug though my bag of 1/8 parts and found a pair of rear upper arms from a CEN Matrix buggy.

Here are the part number of this items I used:

  • 7.8 Ball - GS016
  • Turnbuckles 8x56 - MX049
  • Ball End B7.80 - GS074

Or you can get a set on ebay for $10 shipped. Since I only have one set I bought another set on ebay for the front. I also bought a bag of Ball End B7.80 - GS074 just in case the ones I have wear out too. I am hopping the larger ball will last longer.

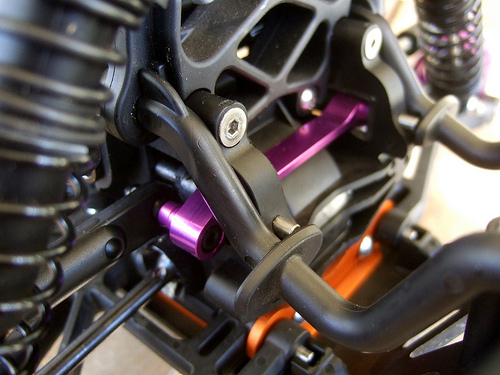
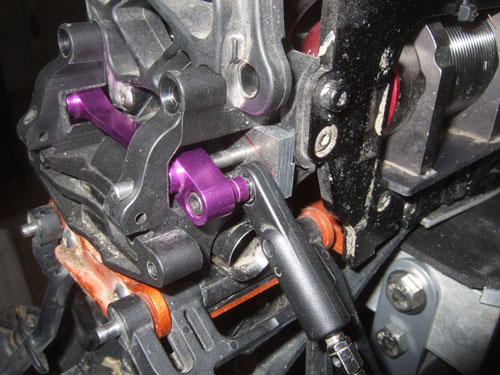
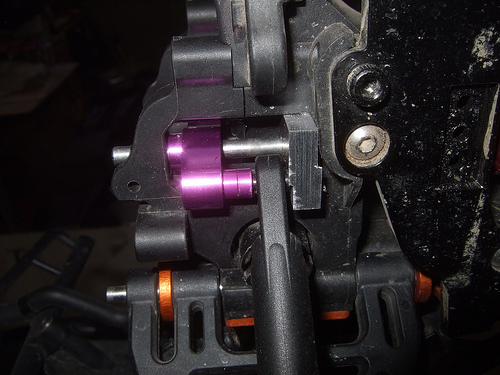
Here is a picture with the stock upper arms
Savage 5T Flux-  Hitec HS-7950TH HV Servo


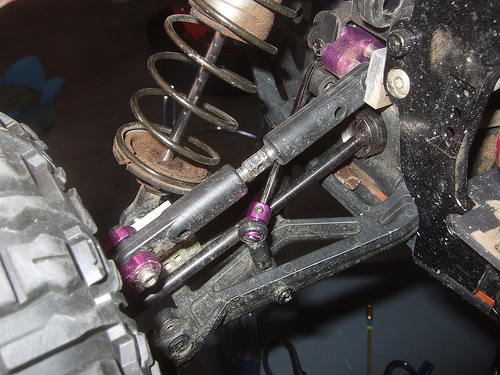
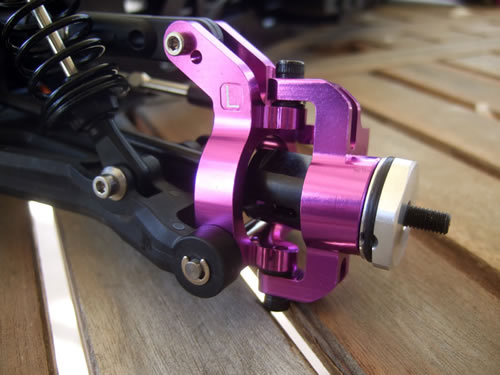
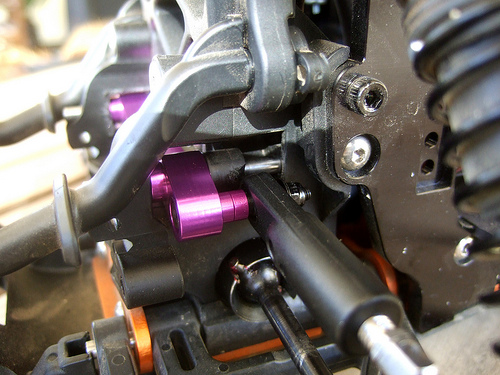
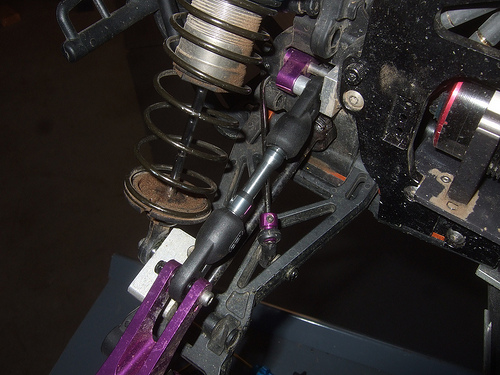
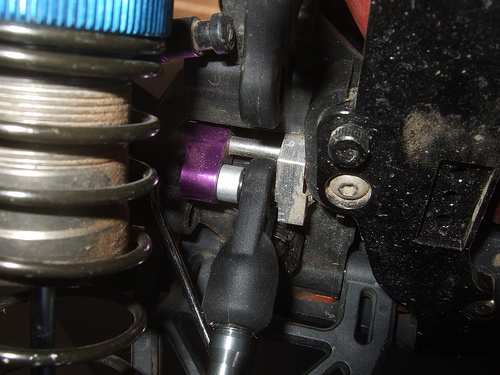
And a picture of the CEN Matrix upper arms
Savage 5T Flux-  Hitec HS-7950TH HV Servo


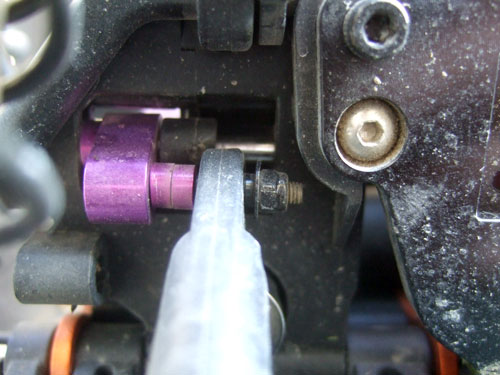
Here is a picture of the stock and CEN Matrix upper arms. Below that are the 2 piece stock spacer and the custom 1 piece I made.
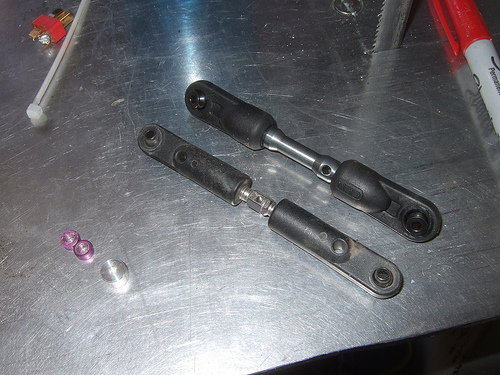
Savage 5T Flux-  Hitec HS-7950TH HV Servo


Stock spacer
Savage 5T Flux-  Hitec HS-7950TH HV Servo


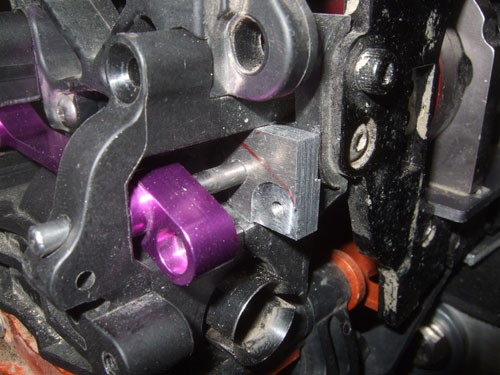
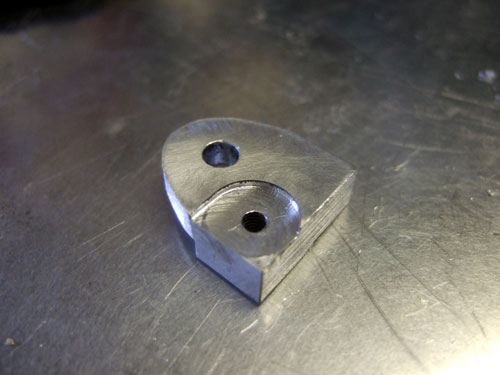
Custom spacer installed. I had to make new spacers because the stock 2 piece is too thick.
Savage 5T Flux-  Hitec HS-7950TH HV Servo


>>To continue to XL Axle & HD 23mm Hex, click here...

back to top