|
I will start off with a bar of 6061 aluminum and cut a 3/4 inch off.
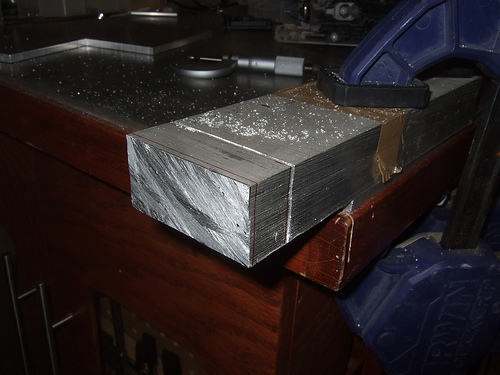
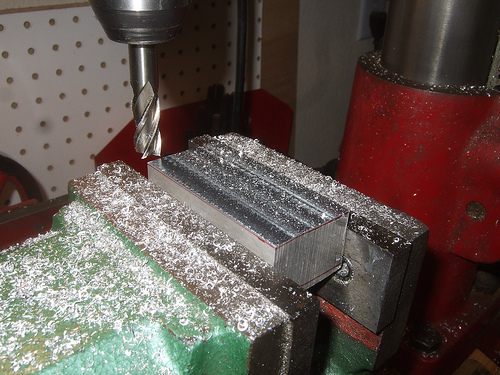
Once I cut it off I would need to clean up the ends so I have a flat surface to work with.
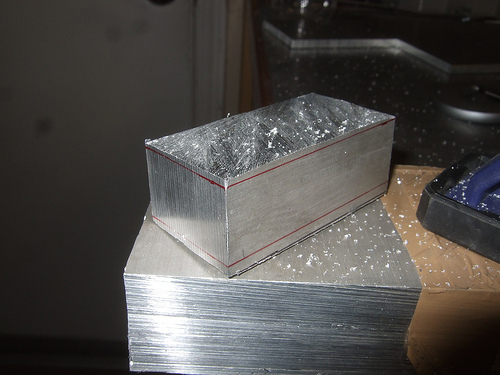
The most accurate way to clean it up in on the milling machine
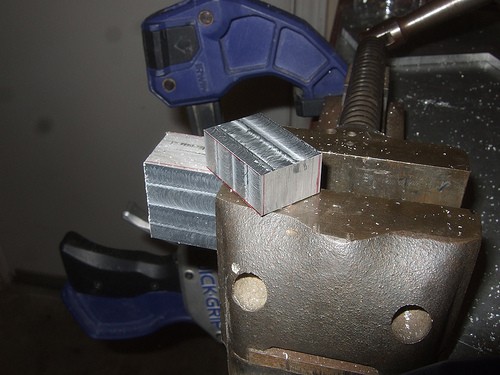
Next I cut an even smaller block off. Ideally I should be able to make 4 mount from the first block of aluminum I cut off.
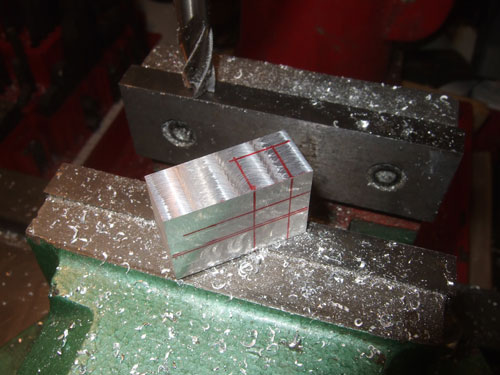
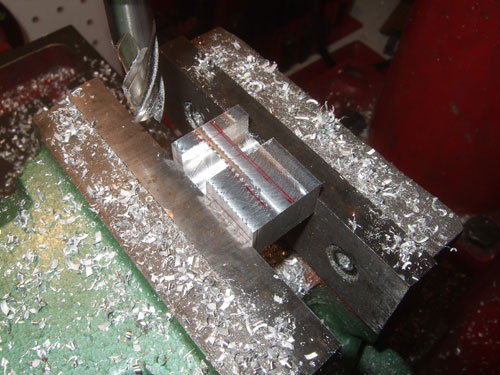
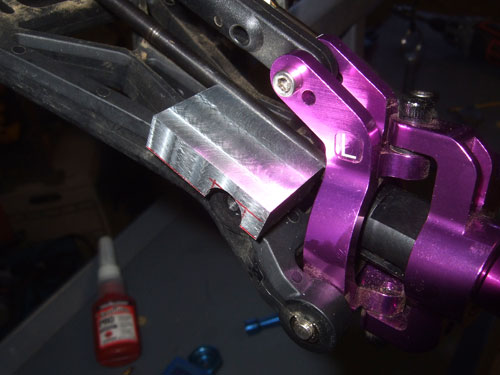
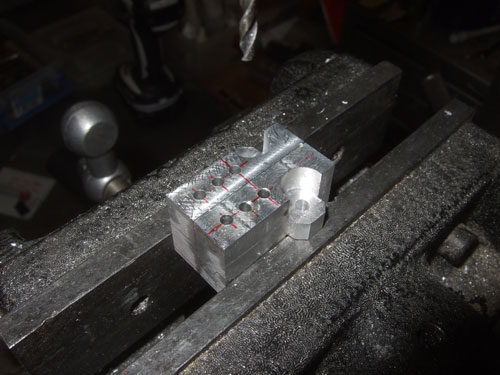
In this picture you will see the lines I mark to where I need to make the cuts.
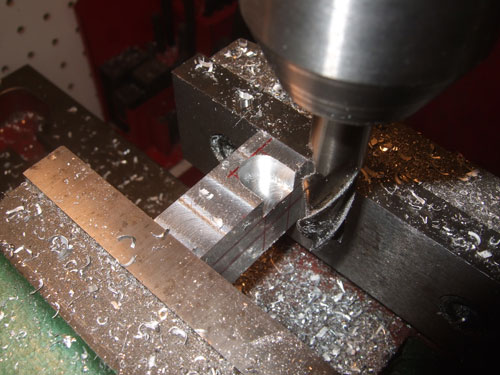
This is my first cut and here is where the tabs that stick out from the A-Arms will drop in.
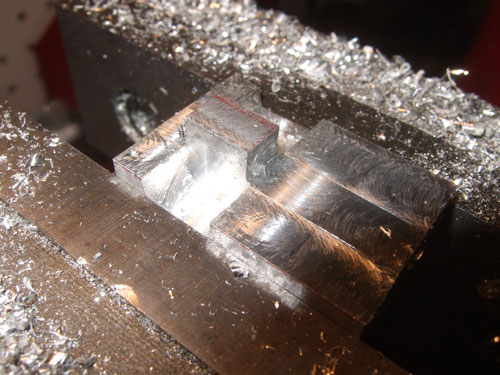
This is how it looks after I thined out the block a litte bit so there is a little tab that sticks out
so I can screw it to the a-arm where the shocks use to be mounted.
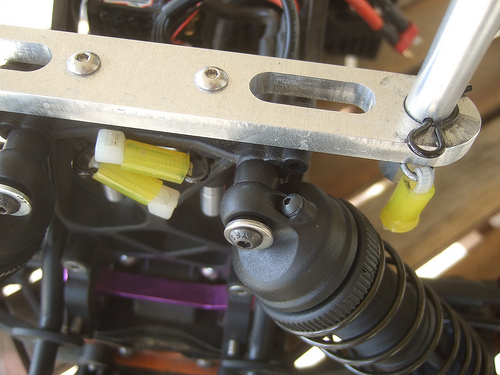
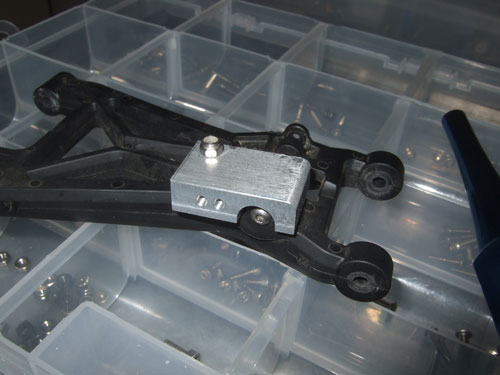
Here is another look at the mount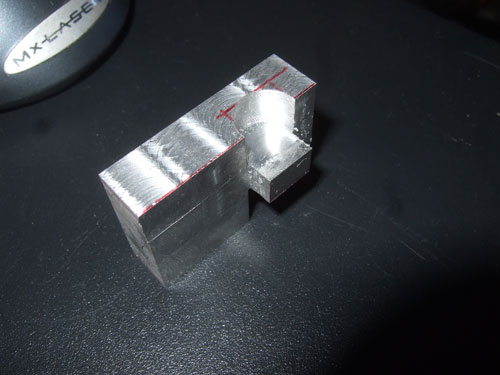
Test fit to make sure it does not hit or rub against anything.
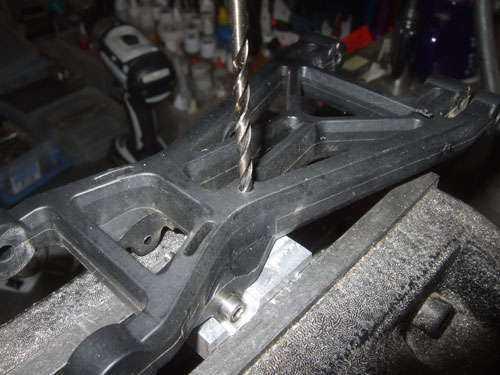
Here I am drilling a hole through the arm and aluminum shock mount
I did not want the screw to stick out so I used a 1/8 end mill to enlarge the hole so the screw will
sit inside the A-arm
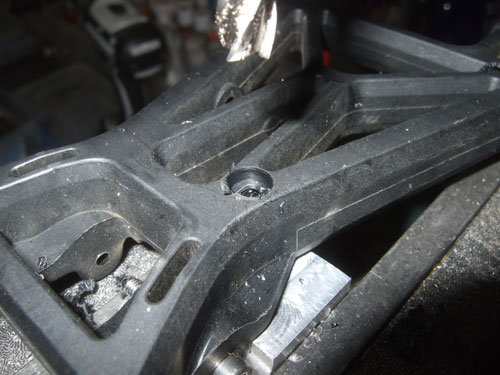
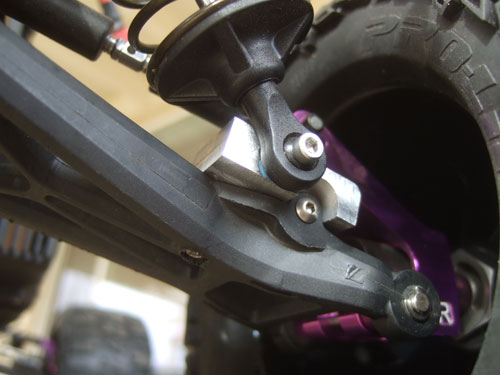
You can see in this picture that the screw is sitting inside the A-Arm
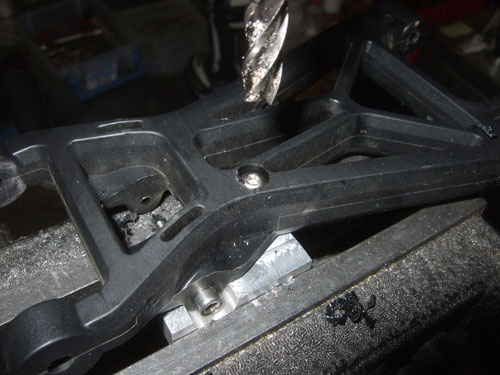
These are the holes to mount the shocks, I will need to tap each of the hole
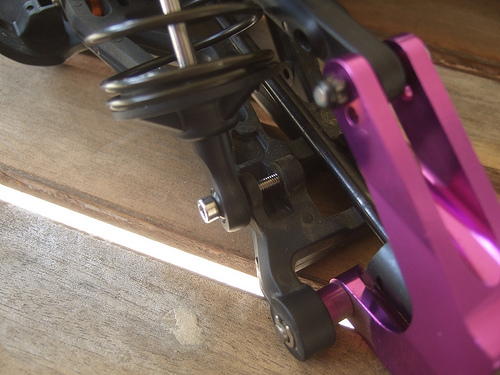
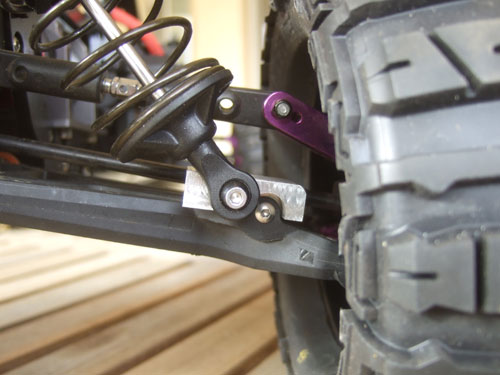
Test fit to make sure it fits okay. I decided to use a nut and bolt to screw it down because it seems
like it would be stronger than tapping the aluminum.
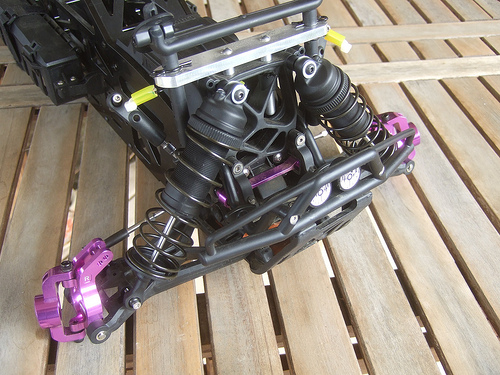
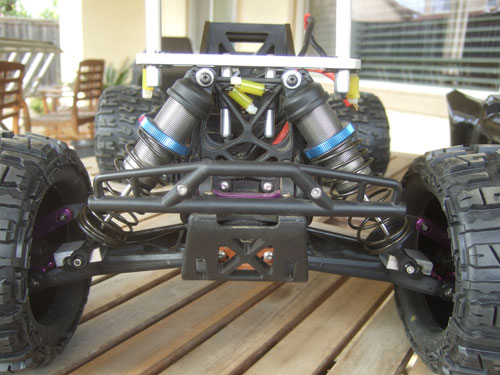
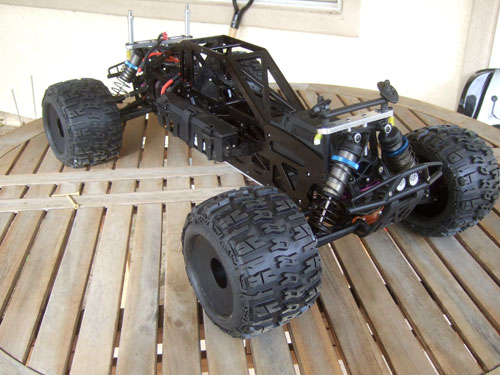
Here is everything installed, with the LST harden aluminum threaded shock body with R/C Raven
dual rate springs (8.9 ppi at the top and 15 ppi at the bottom) and 35wt Losi shock oil.
|