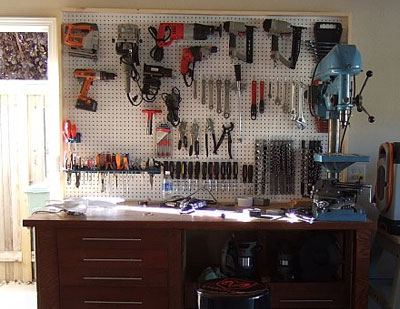
Site menu:

Latest news:

May 14 2015:
5ive Camber Links and Turnbuckles

link »

Apr 12, 2015:
Quadcopter The Build Part 3 - Final Setup

link »

Apr 09, 2015:
LCD Monitor Mount

link »

Apr 04, 2015:
5ive - More Upgrades

link »

workbench:

Part 9
Part 8
Part 7
Part 6
Part 5
Part 4
Part 3
Part 2
Part 1

Workbench - Part 9

Click here to view my gallery!

(date: August 5, 2007)

Built a peg board for my workbench and hung up some of my commonly used tools.

back to top

Workbench - Part 8

Click here to view my gallery!

(date: July21, 2007)

I added 2 cabinet doors with plastic windows. Inside the cabinet I have a siding drawer to hold my saw blades and a peg board to hang some precision tools.

back to top

Workbench - Part 7

Click here to view my gallery!

(date: May 14, 2007)

back to top

Workbench - Part 6

Click here to view my gallery!

(date: April 9, 2007)

back to top

Workbench - Part 5

Click here to view my gallery!

(date: April 2, 2007)

back to top

Workbench - Part 4

Click here to view my gallery!

(date: April 2, 2007)

back to top

Workbench - Part 3

Click here to view my gallery!

(Date: March 26, 2007)

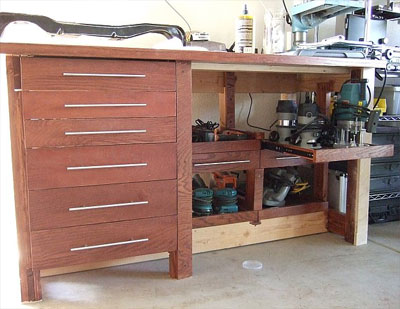
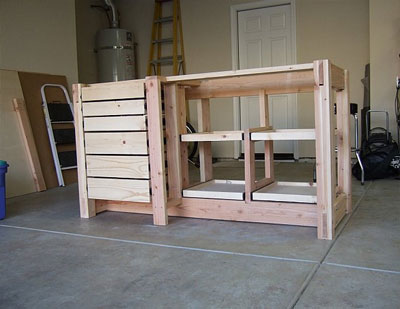
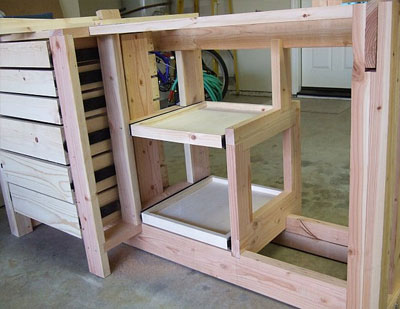
Since I know how to build a drawer, now I have to find a way to add some supports to hand all the drawers that I am going to make. I think I spent more time thinking about what to do than actually doing it. I found out that it is ten time faster to just follow a plan, instead of making something up my self.

I am not sure this is the best way to approach this but it built 4 drawers first. And measured how wide I need to make the supports to hang the drawer slides.

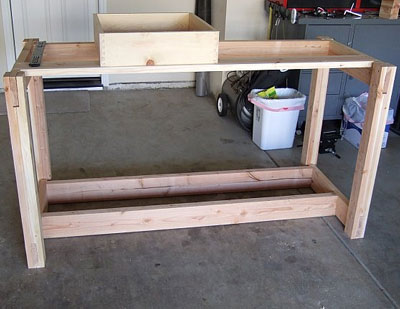
Once again I showed some pictures to my dad of my progress and he suggested that I should not make the drawers too deep. But rather make more drawers that are shallow. Because from his experience he was not able to utilize the whole drawer that is deeper and if he did it is hard to dig for things on the bottom. At first I disagreed with his suggestion because some of the things that I have might need a deeper drawer. And eventually I come to realize that he is right. Most of the things I have will fit in the shallow drawers with out any problems. Ultimately you will have to determine what you want to put in the drawers and customize it for yourself.

back to top

Workbench - Part 2

Click here to view my gallery!


(Date: March 25, 2007)

Once I finished building the workbench's frame, I diverged from the plans because wanted something different from what the original plans offered. I need something that will maximize the usage of space. If you follow the plan, they only have 2 drawers and a lot of open space under that table and I wanted to use my new Porter Cable dovetail jig tat I just bought.

It’s amazing how easy and fast to build a drawer with this dovetail jig. Plus I bought 80 full extent ball bearing drawer slides of only $3 a pair, so I am going to go crazy and build a ton of drawers.

back to top

Workbench - Part 1

Click here to view my gallery!

(Date: March 19, 2007)

It all started with the FREE plans that i downloaded from http://www.plansnow.com. This site has a lot of detailed plans that you can download for a small fee, and there are a few that are FREE! I choose the free "Handyman Bench" plan as the back bone of my bench.

I recommend this site to everyone because the plans are very detailed and easy to use. This is my first woodworking project, and I don't think i did to badly.

If you have not noticed it already this table is too high! After further investigation and consultation with my dad I cut off about 6 inches for the leg. Compare the pictures for part 1 and part 2. You will see in part 2 the horizontal bar is almost touching the ground, where as in part 1 is was pretty far from the ground.

back to top